Display custom metrics and text in Telegram

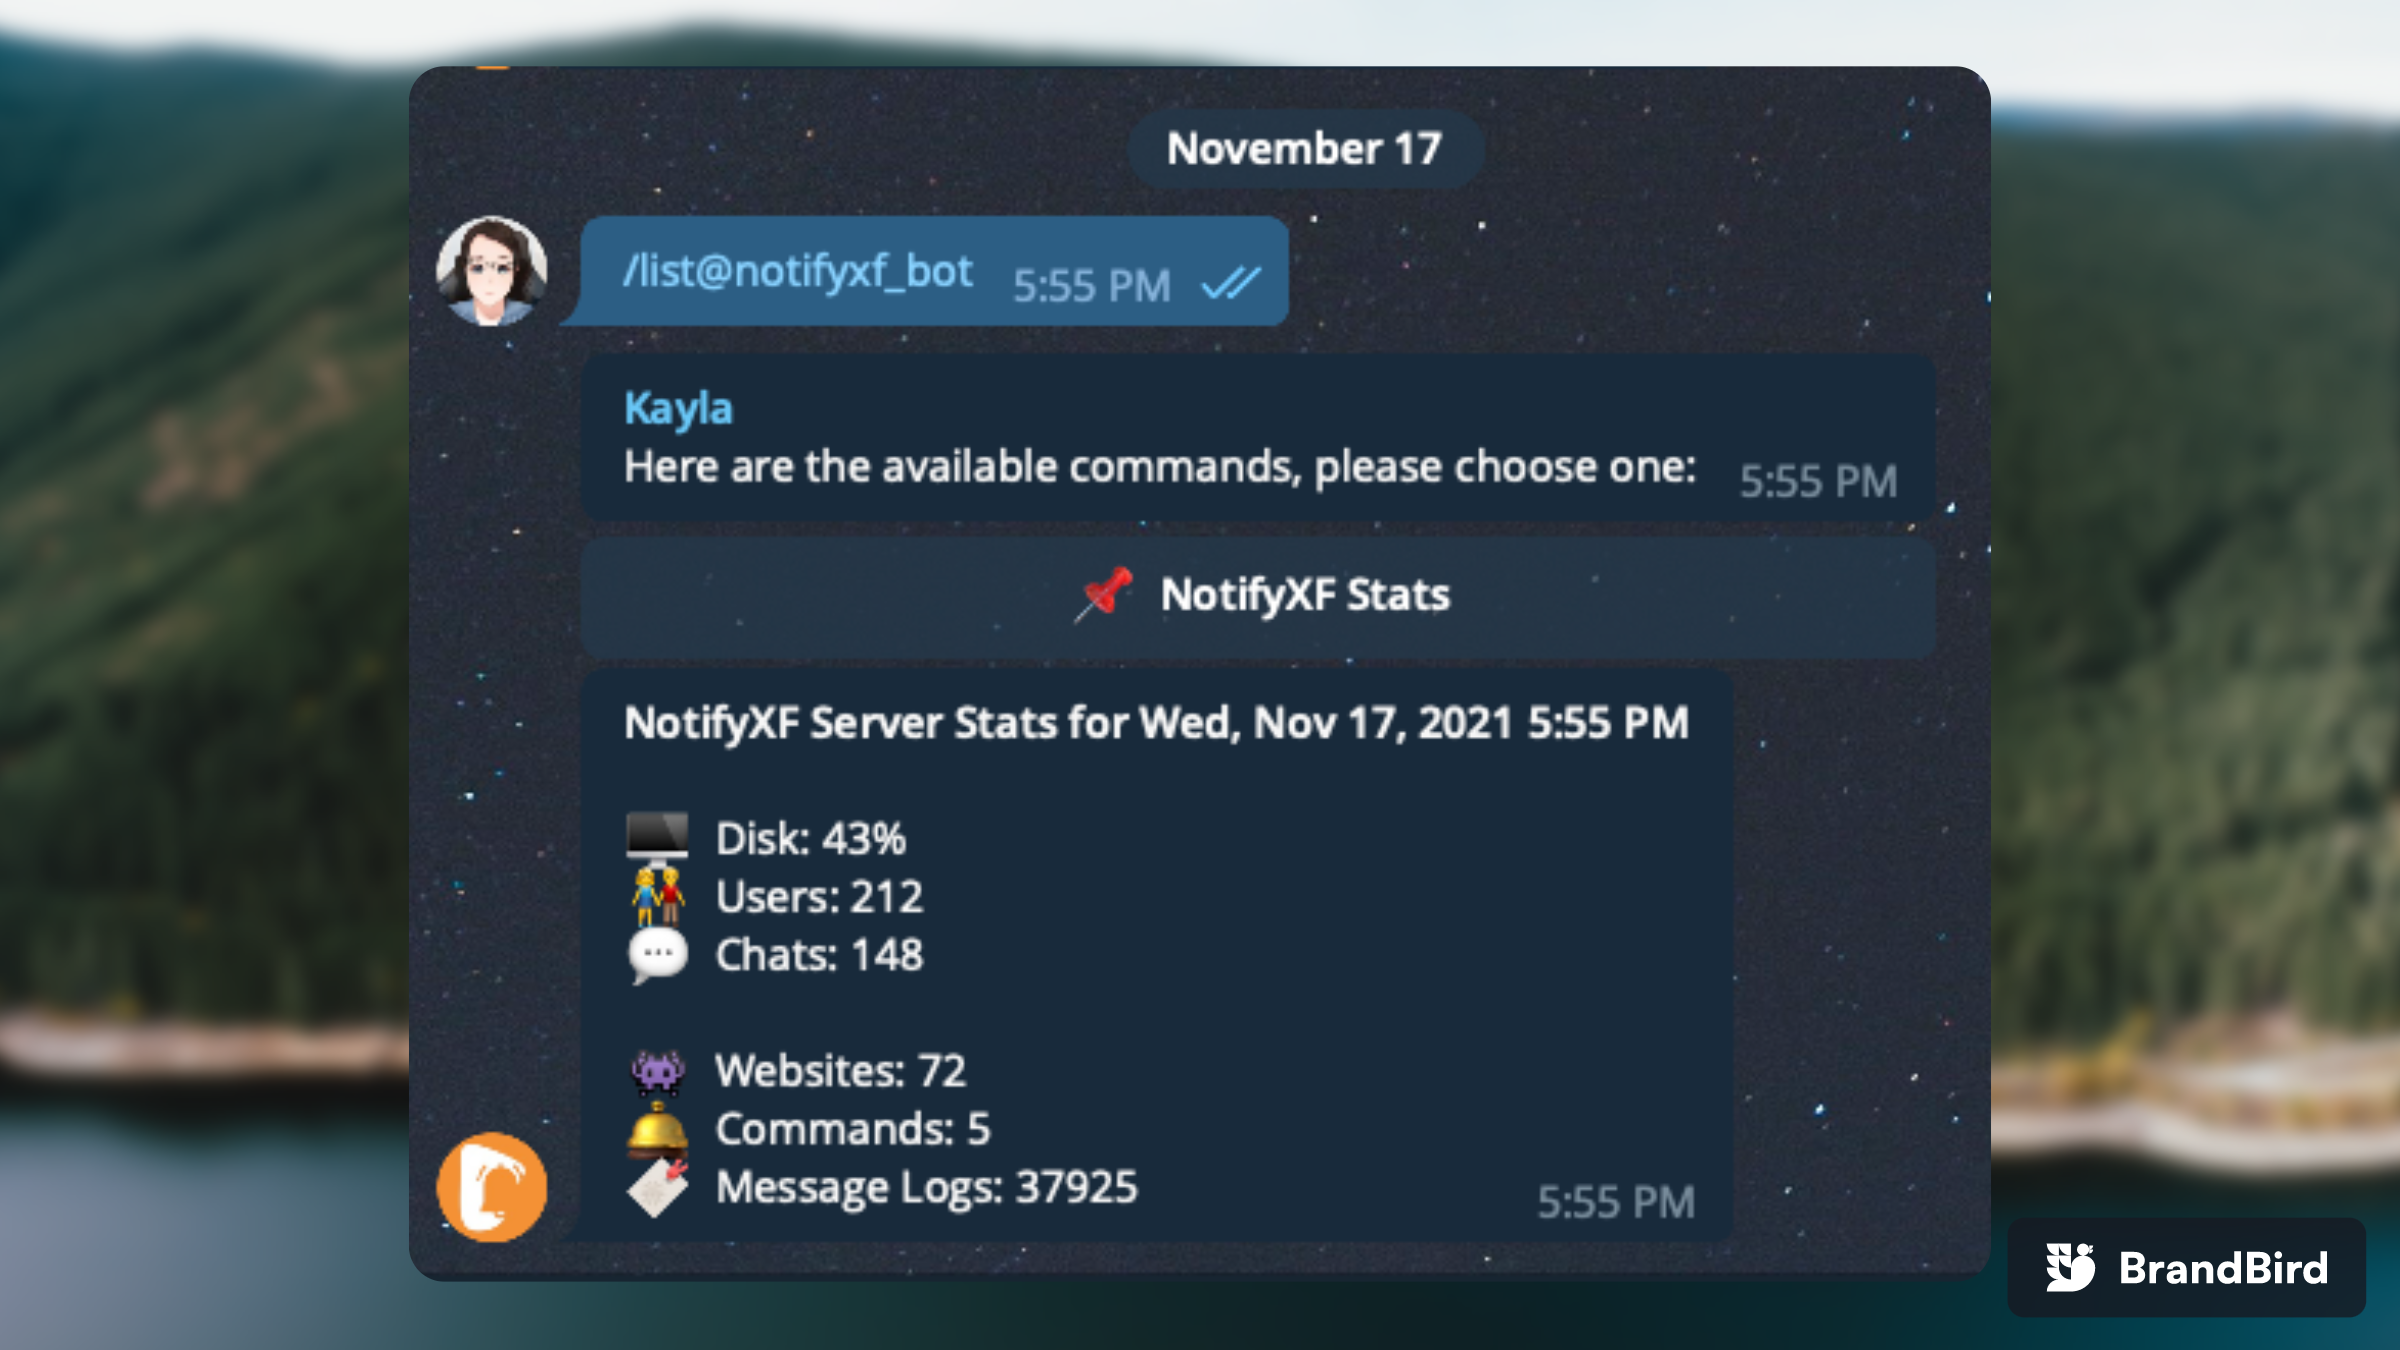
Imagine, instead of logging into a dashboard to look at your stats, you can just do this
This article will cover step by step tutorial on how to use basic command editor from NotifyXF to display custom information in Telegram.
If you are a visual learner, you can also watch it from our YouTube channel.
Create an account
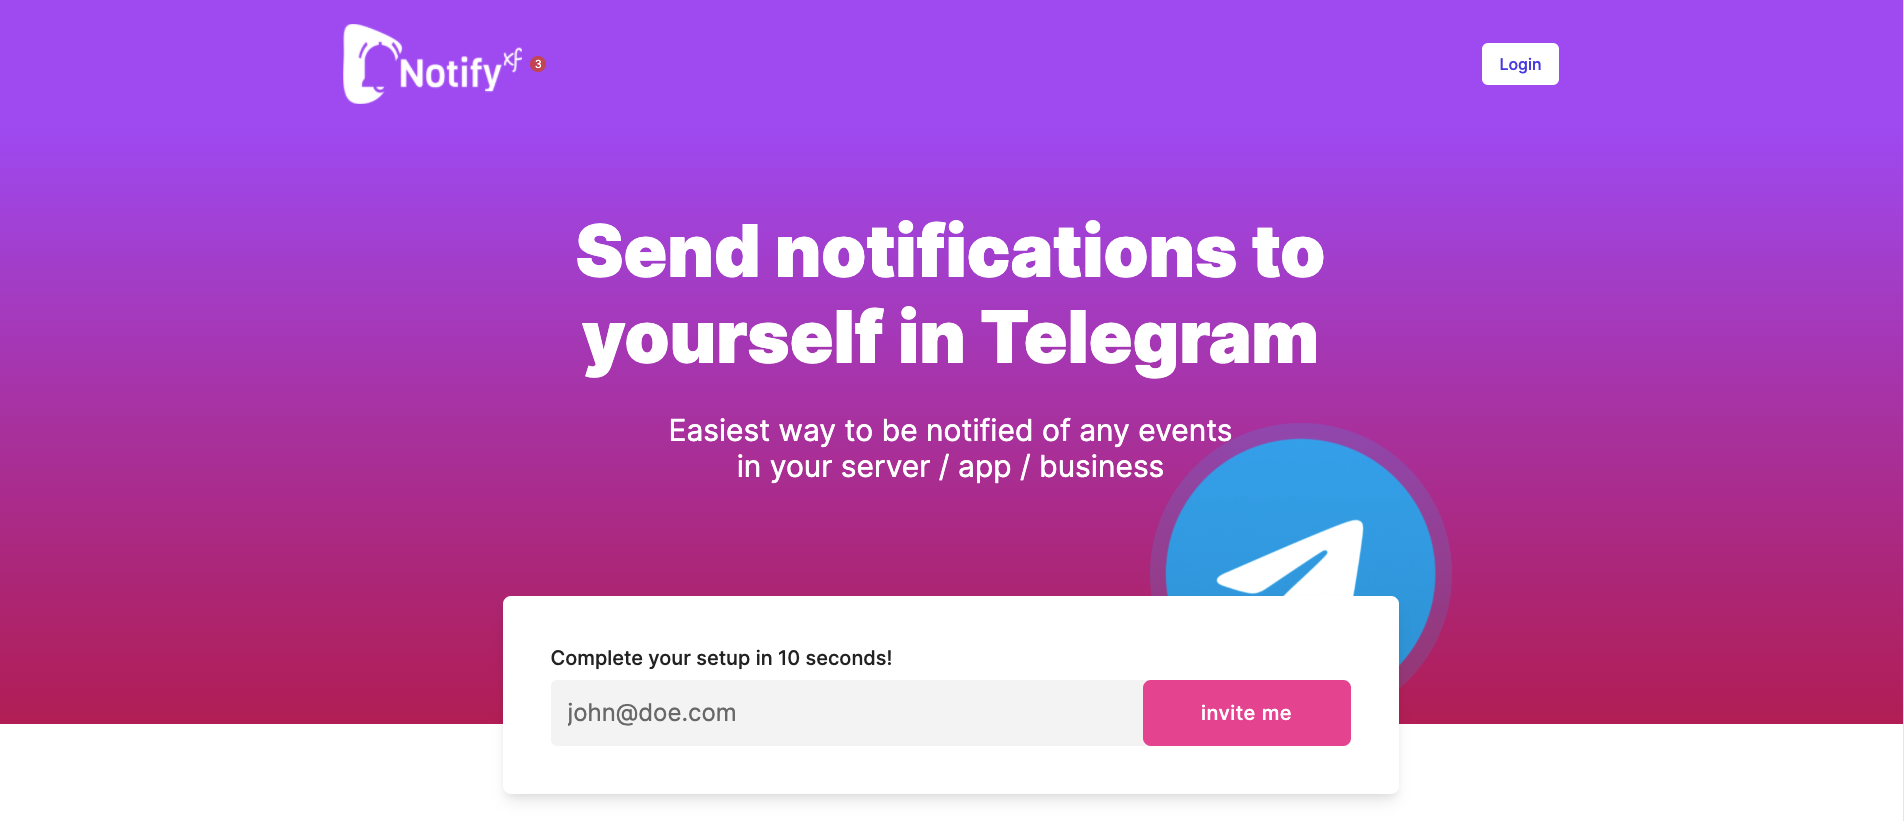
The first thing you have to do of course is to create an account.
So head over to https://notifyxf.com and insert your email to get started. It only takes 5 seconds or less. I'll wait.
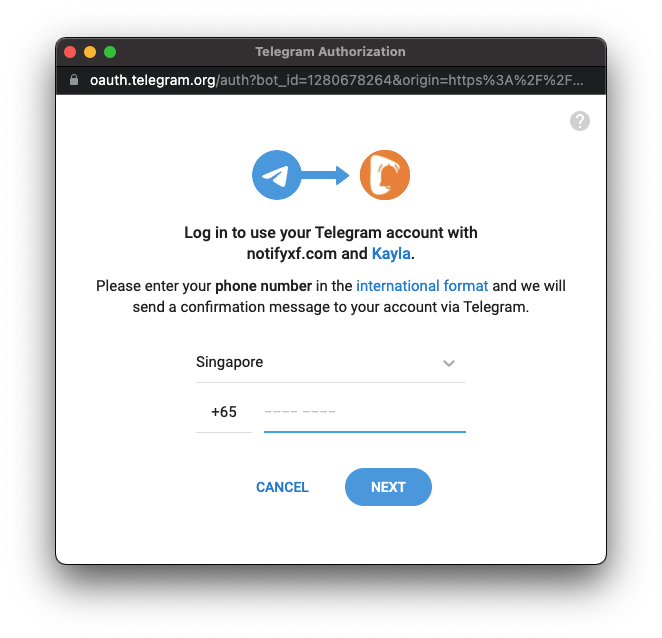
Connect with Telegram
After that, follow the instructions on the screen to connect your Telegram account with NotifyXF. Start by clicking on Login with Telegram button. The process is fairly straightforward so go ahead and do that. I'll get myself a coffee first.

Once you are connected, you should receive a message from Kayla our bot in Telegram. Your browser screen will also redirect you to dashboard.
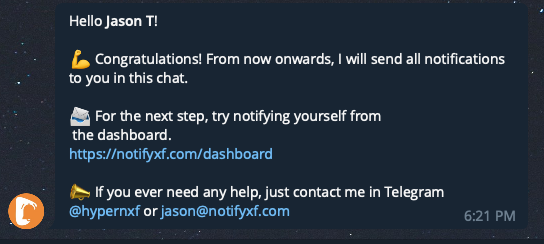
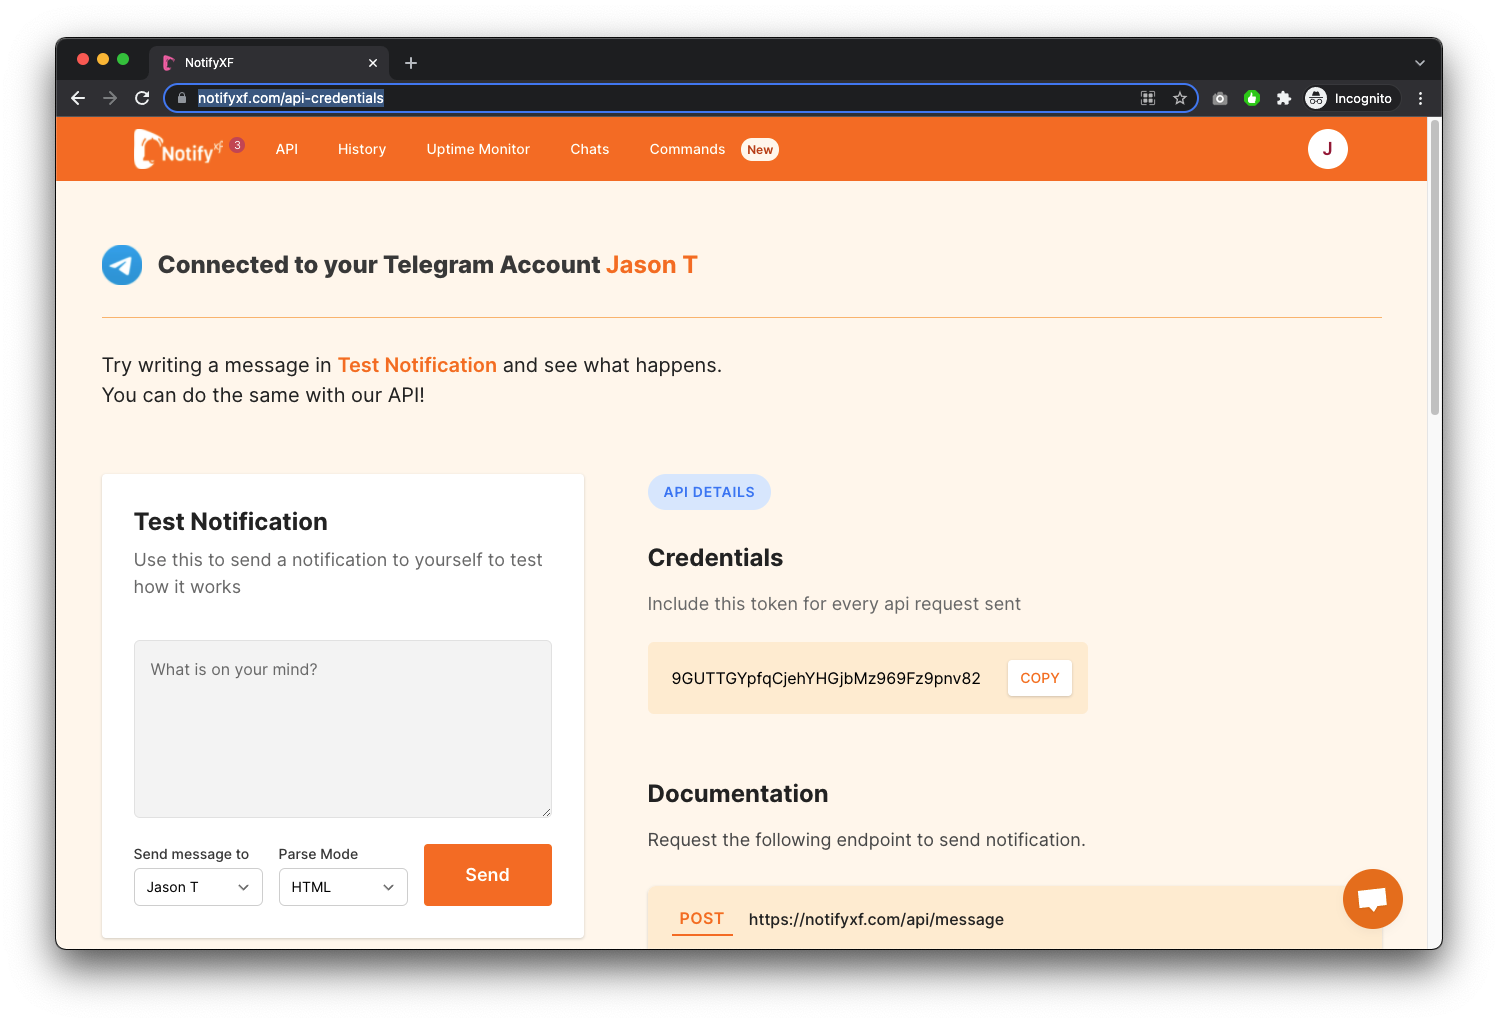
The account creation is completed! See! Easy peasy!
The page you see in the dashboard allows you to get a token you could use to send notifications to yourself using a simple URL.
But we won't be doing that in this article so read on!
Next up, we'll be using one of the features in NotifyXF to display custom information in Telegram. It's called Command
Creating your first command
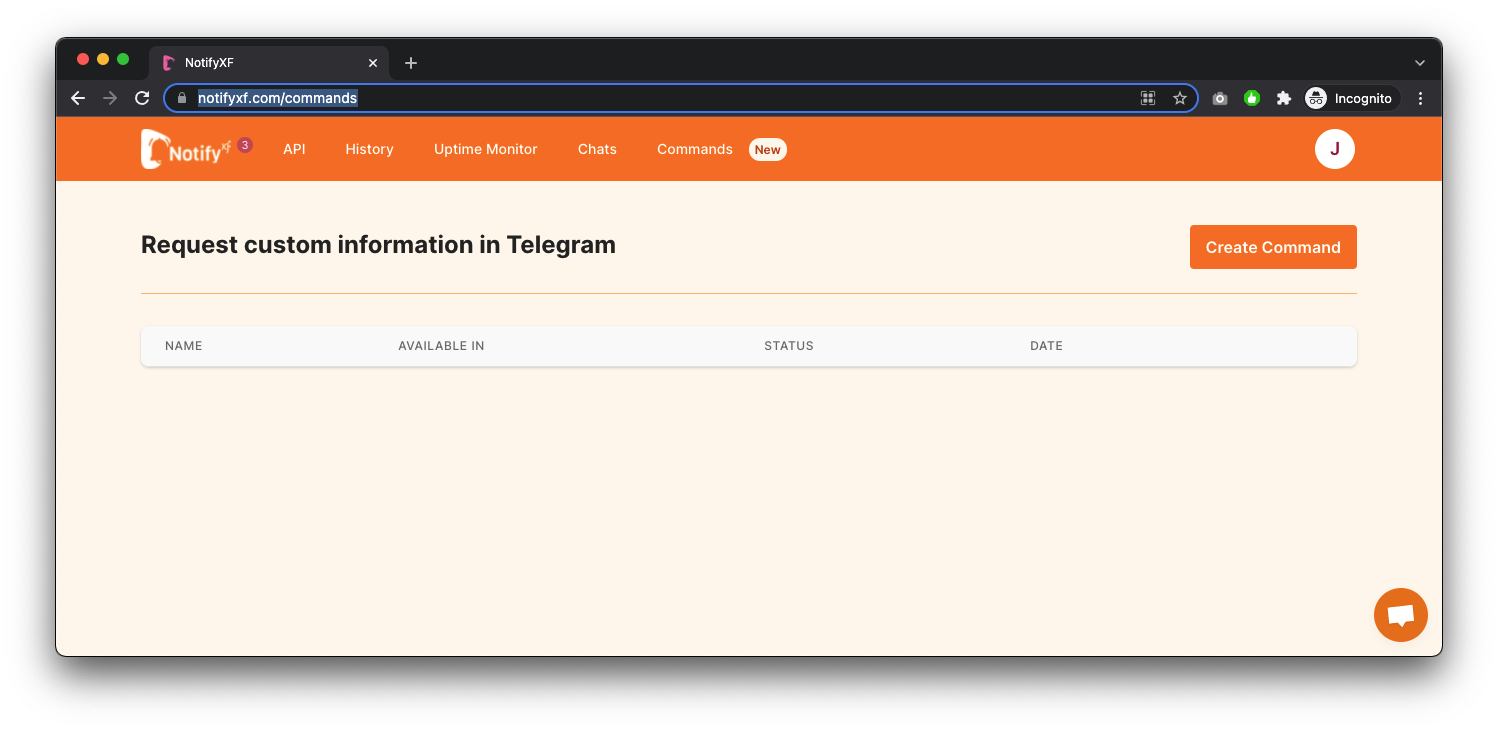
Click on the Command tab on the top or just visit https://notifyxf.com/commands to go to the Command page.

Click on Create Command
Insert the following information as seen below.
What does this command do? Server Stats
Send message to Leave it as default
What is your endpoint? https://notifyxf.com/api/command
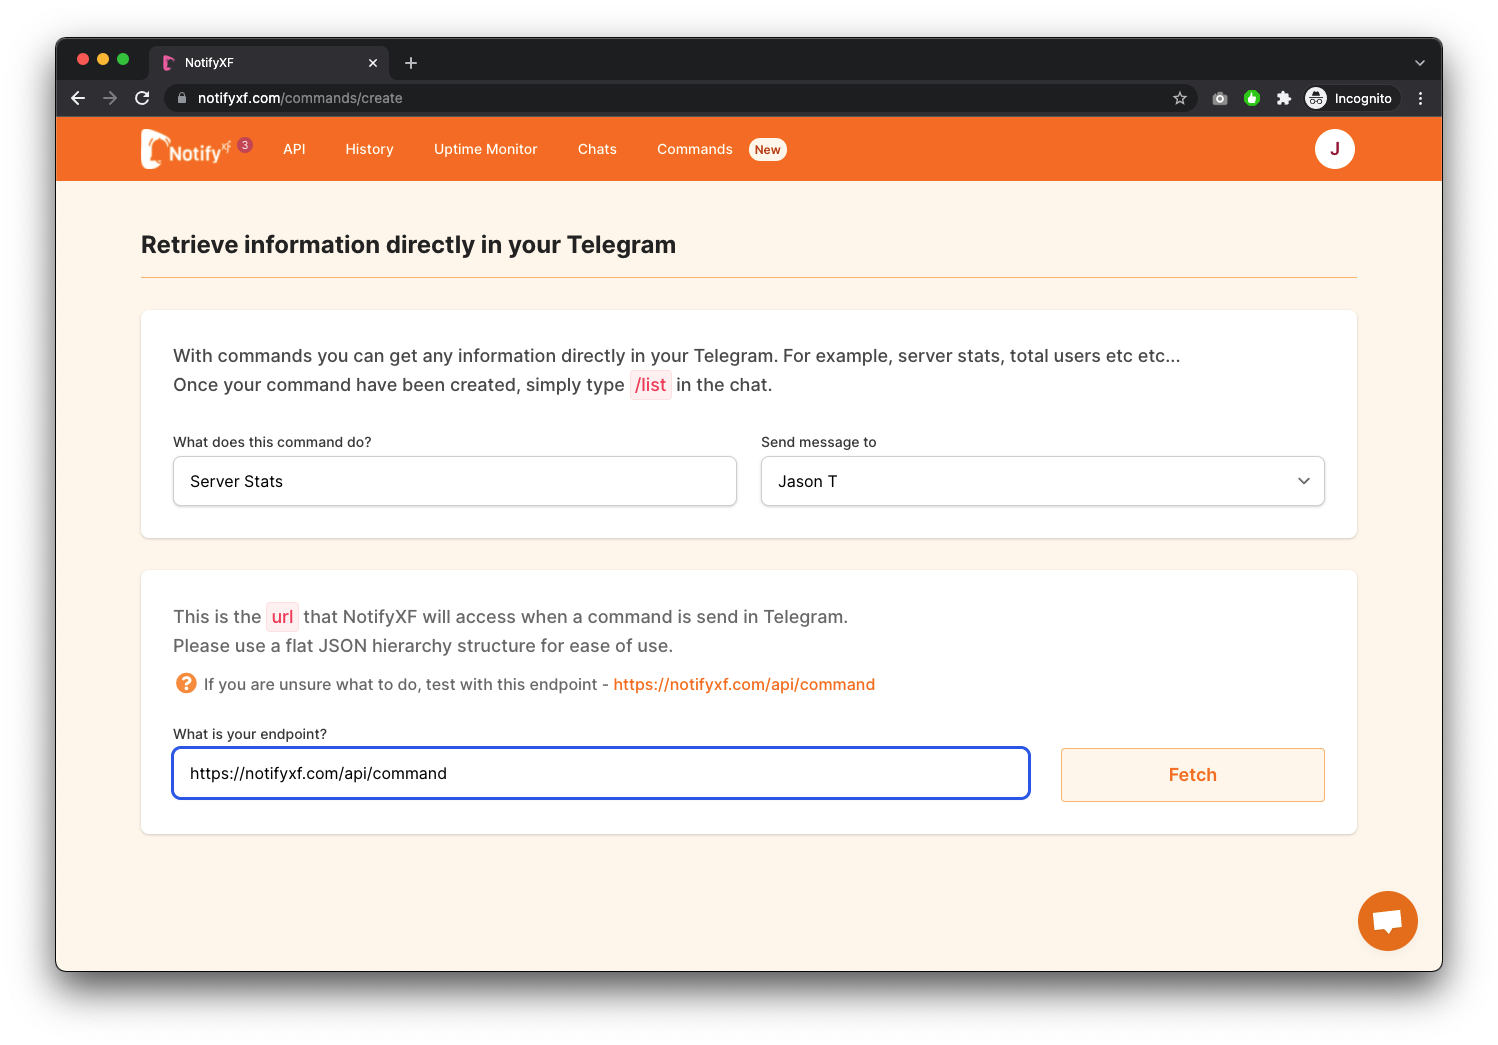
Note that for this tutorial we will be using an example API endpoint provided by NotifyXF. More details about the endpoint will be explained at the bottom.
Press Fetch once you are done with the above.
You will see the following screen.

What happened here is NotifyXF parsed the data from the API endpoint provided and showed you a preview of what you will see in Telegram.
Now click Save

... and you are done!
Head over to Telegram and in the chat with Kayla, just type /list and choose the command you've just created.
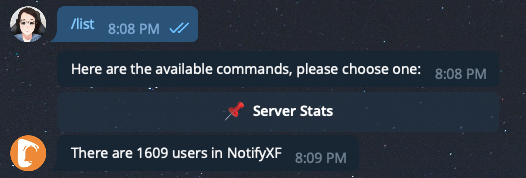
You should see the above reply. Easy Peasy again!
JSON API Endpoint
Finally, in this last part, let's talk about the endpoint.
Basically, you will have to provide a simple URL that could be accessed by our bot. The format of the URL is as shown:

{
  "message": "There are 1609 users in NotifyXF"
}
Response from https://notifyxf.com/api/command
The naming of the key message is not important as NotifyXF will use the first key found in the JSON response.
Conclusion
As you can see, it's fairly easy to configure a custom response with NotifyXF. As long as you are able to provide an API endpoint.
If you would like to customize your message or handle nested JSON data, you can also use the Advanced mode, which I will cover in a separate article.
Hope you enjoyed following this simple tutorial and feel free to comment at the bottom if you have any questions!
Look forward to more articles on the various features provided by NotifyXF!
Have a nice day!
